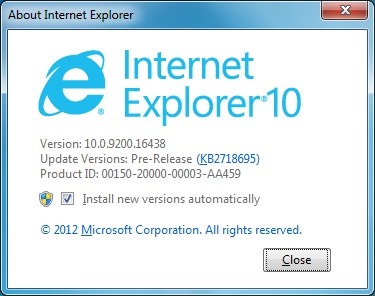
A few hours back, Microsoft released Internet Explorer 10 Release Preview to Windows 7 and Windows Server 2008 R2 operating systems. IE 10 is significantly faster than the previous version of the browser and brings the powerful HTML5 engine to Windows 7 users.
As we mentioned in download IE 10 for Windows 7 article, IE 10 Release Preview can’t be installed alongside your existing IE 9 installation. When you install IE 10, it replaces your existing IE 9. Because of you this, you won’t be able to test drive the newest version of the browser without disabling IE 9. However, the good news it that you can uninstall Internet Explorer 10 to restore Internet Explorer 9 version.
If you have previously installed Internet Explorer 10 and now want to restore the IE 9, you need to uninstall the IE 10. Complete the given below instructions uninstall IE 10 from your Windows 7 PC and restore IE 9.
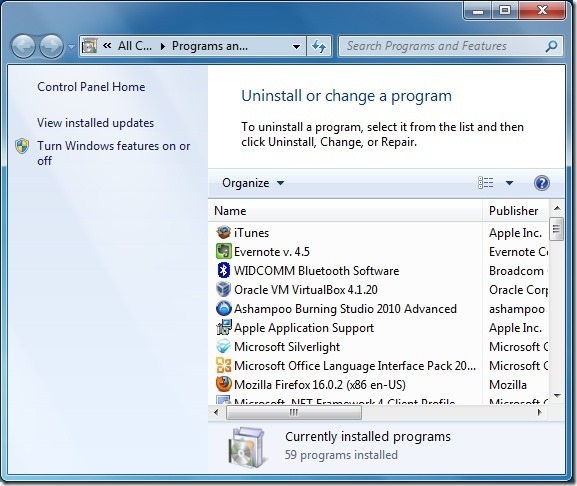
Step 1: Type appwiz.cpl in Start menu search box, and then press Enter key to open Programs and Features window.
Step 2: On the left pane, click View installed updates to see all installed updates.
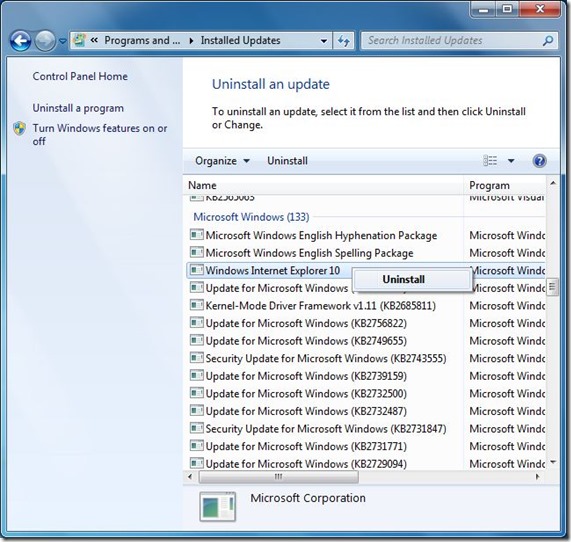
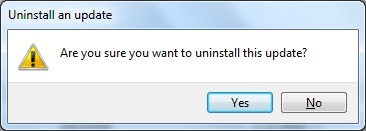
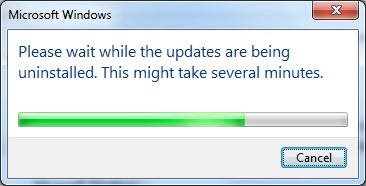
Step 3: Look for the entry named Windows Internet Explorer 10, right-click on the entry and then click Uninstall button. Click Yes when you see the confirmation prompt. Once done, you will be asked to reboot your PC.
Click Restart now to finish the process of uninstalling IE 10 and restore the previous version of the browser or click Restart later to finish the uninstallation process when you restart later.
