We have already discussed creating a manual system restore point as well as system image backup in Windows 10/11. In this guide, we will see how to restore Windows 10/11 to an earlier date with the help of a previously created restore point.
NOTE 1: When you restore Windows 10/11 to a previous date, your documents, pictures, and other files will be preserved.
NOTE 2: Programs installed after the creation of a selected restore point will be deleted or uninstalled.
NOTE 3: Programs updated after the creation of a selected restore point will be restored to the previous version and will not be uninstalled.
NOTE 4: You can restore Windows 10/11 to a previous date only if a restore point is available.
Restoring Windows 10/11 system to a previous date
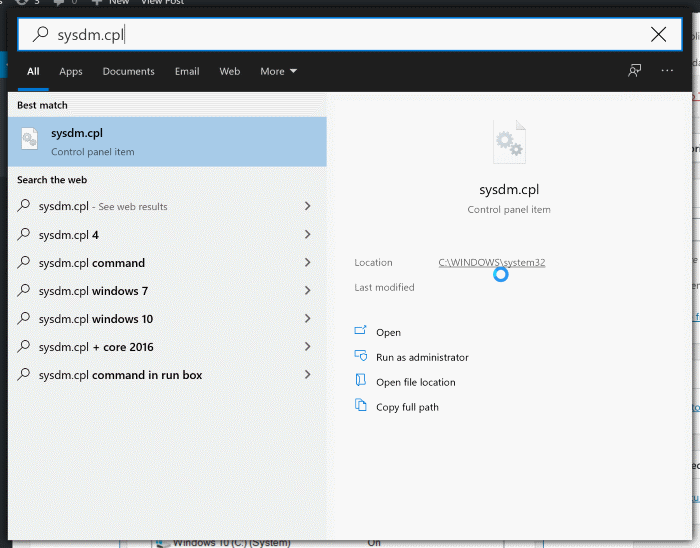
Step 1: Type Sysdm.cpl either in the Start menu search box or Run command box and then press Enter key to open System Properties.
Step 2: Once System Properties dialog is opened, switch to System Protection tab.

Step 3: Under the Protection Settings section, make sure that the protection for the system drive (Windows 10/11 drive) is turned on. Next, under the System Restore section, click the button labeled System Restore to open System Restore wizard.

Step 4: Click the Next button to view all recently created restore points.

NOTE: If you recently performed a system restore using a restore point, you will get the following screen instead of the above screen with an option to undo the system restore. You need to select Choose a different restore point and then click the Next button to view all restore points.

Step 5: If all restore points are not visible, click the option labeled Show more restore points to view all restore points.

As you can see in the picture above, the latest restore point appears at the top and with date, time, and description.
It’s a good idea to know what all programs will be uninstalled when you restore your system using a specific date. To know affected programs, select the restore point that you want to use to restore your system, and then click Scan for affected programs.
As you can see, Windows will display all programs and drivers that will be deleted when you restore your system using the selected restore point. If an application is updated post creating a restore point, the previous version of the program will be restored.

For instance, if you were running Firefox 42 while creating a restore point and updated the same to version 43.0 after some time, Windows will restore Firefox 42 when you restore using the selected restore point. Not a big deal as you can easily update programs and drivers to the latest version with a few clicks.
Step 6: Select the restore point which you would like to use to restore Windows 10/11 and then click the Next button.

Step 7: Finally, click the Finish button to begin restoring your Windows 10 to the selected restore point.

Your PC will automatically reboot to begin the restore process. This might take up to 20 minutes, depending on the number of programs and settings to be restored.
Once done, you will see the “System Restore completed successfully” message on your desktop. That’s it!