The introduction of new system tray style in Windows 7 has many benefits. Firstly, you can now keep your system tray neat, secondly, you now have full control over system tray icons.

Although users can simply drag any system tray icon from outside the taskbar to hide it, many users might like to keep system tray clutter-free by removing the Intel Graphics icon permanently from system tray.
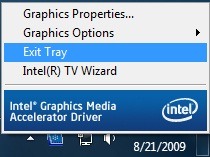
The best way to disable Intel Graphics system tray icon is to right-click on system tray icon and select exit system tray option.
Way to to enable/disable Intel Graphics system tray icon
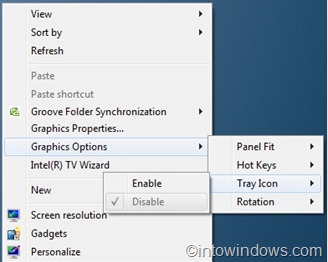
1. Right-click on Windows 7 desktop
2. Go to Graphics Options > Tray icon > Enable/disable
But if you have read and implemented our how to remove Intel menu (Graphics Properties, Graphics Options, Intel (R) TV Wizard) from Windows 7 desktop context menu guide you can’t use above steps to enable/disable system tray icon. Instead you need to follow the steps given below:
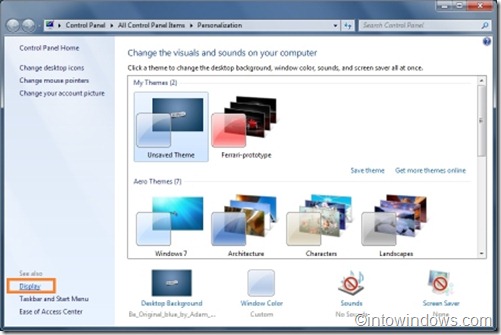
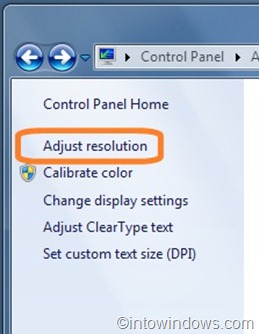
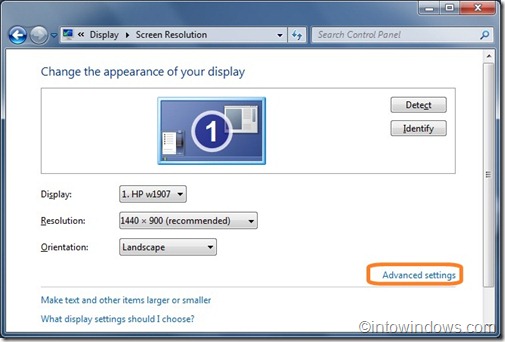
1. Right-click on Windows 7 desktop and select Screen Resolution. Alternatively, right-click on desktop > Personalize > Display (found in left panel) > Adjust Resolution.
2. Click on Advanced Settings.
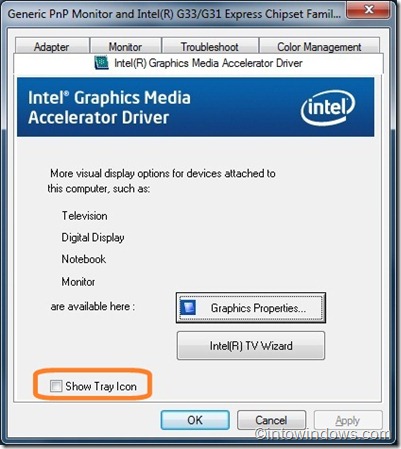
3. Switch to Intel Graphics Media Accelerator tab.
4. Deselect the check box named System Tray Icon.
5. Click Ok to exit. You should see the disappearance Intel Graphics system tray icon immediately.
