Have you bought a new Mac and want to transfer emails, contacts, bookmarks, documents, pictures, iTunes content, and other files from your Windows 10/11 PC to the new Mac? Want to migrate data from Windows 10/11 PC to Mac quickly without using paid third-party software? In this guide, we will see how to migrate data from a Windows 10/11 PC to a Mac computer.
There are multiple ways to transfer data from a PC running Windows 10 to a Mac. The Windows Migration Assistant by Apple (free) makes migrating data from PC to Mac easy.
Windows Migration Assistant
Windows Migration Assistant is a free program from Apple to help its Mac users easily migrate data from PC to Mac. The program assists you in transferring pictures, documents, browser bookmarks, contacts, iTunes content, and some settings (like browser homepage and desktop background) from your Windows 10/11 PC to Mac.
To be able to transfer data from PC to Mac using Windows Migration Assistant, both your PC and Mac should be connected to the same Wi-Fi or should be physically connected with an Ethernet cable.
Using Apple’s Windows Migration Assistant is fairly easy. But if you are using it for the first time, you might need some help. Refer to the below-mentioned directions to successfully migrate data from Windows 10/11 PC to Mac.
Transfer all data from Windows 10/11 PC to Mac
Step 1: Make sure that both your Mac and Windows 10/11 PC are on the same Wi-Fi network. That is, connect both computers to the same Wi-Fi network.
Step 2: On your Windows 10/11 computer, download the Windows Migration Assistant setup file (scroll down to see the links) and install the same.
Before downloading the Windows Migration Assistant, you first need to know the version of macOS installed on your Mac machine, as there are different versions of Windows Migration Assistant out there for different versions of macOS. On your Mac, click the Apple menu and then click About This Mac to know the version of macOS installed.
Visit this page of Apple support and then click on the appropriate link to download the installer.
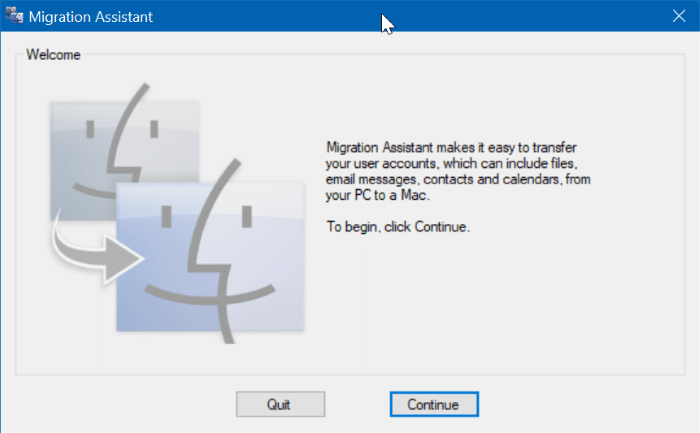
Step 3: On your PC, close all running applications (except the Migration Assistant) and launch the Windows Migration Assistant.
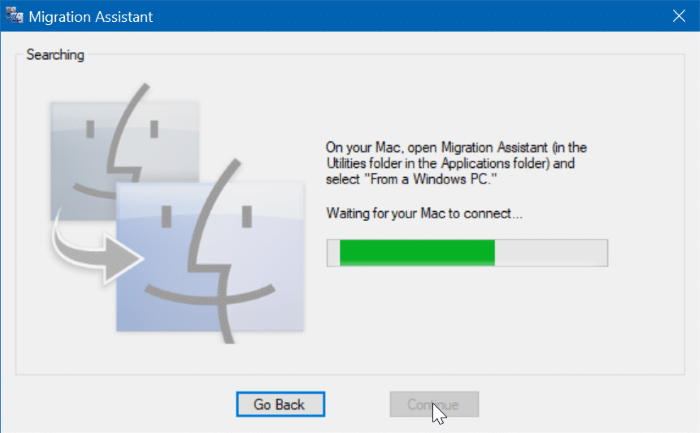
Step 4: Click on the Continue button. If the Migration Assistant asks you to close the running program(s), please do so to enable the Continue button.
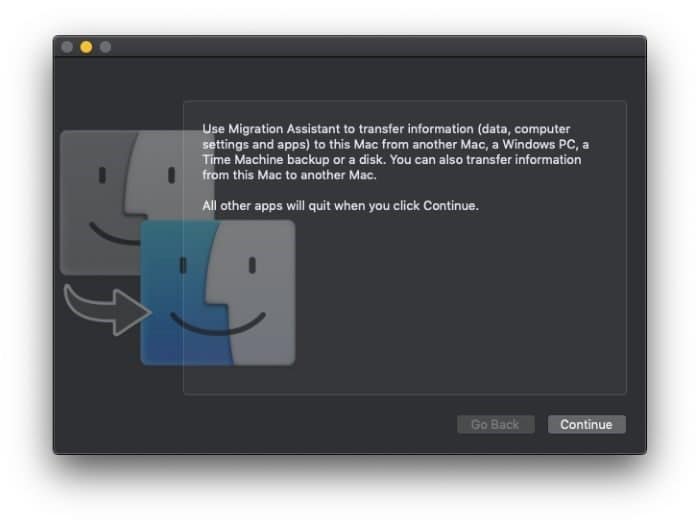
Step 5: On your Mac, start the Migration Assistant utility. If you are new to the Mac, the Migration Assistant can be found by navigating to Launchpad > Other folder.
Follow the simple on-screen directions. It might suggest you disable the Windows Update to avoid the Windows Update from restarting the computer automatically, but Windows 10 won’t restart your PC without your permission. So, no need to disable the Windows Update.
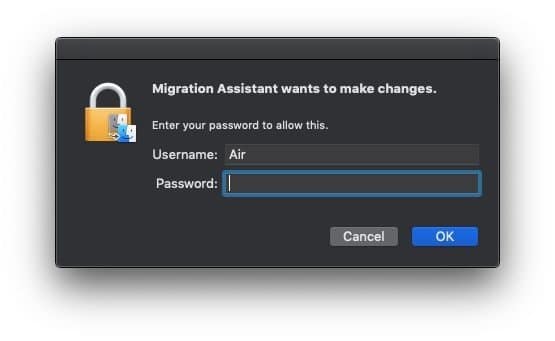
Step 6: Enter your administrator account name and password when asked.
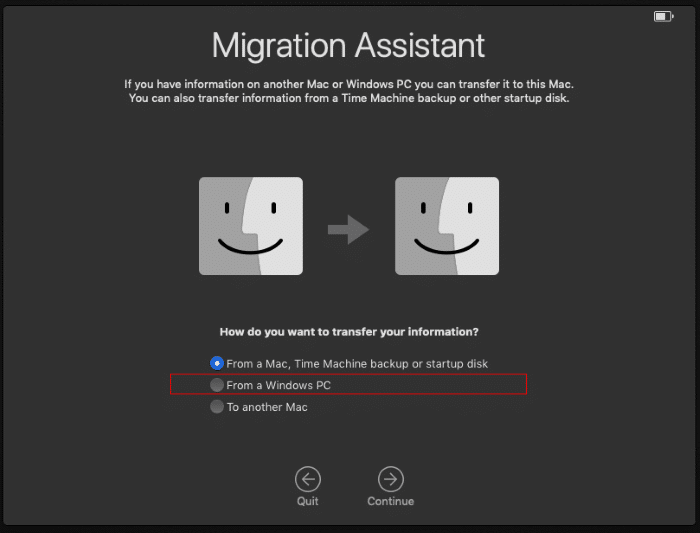
Step 7: Select the From a Windows PC option. Click the Continue button.
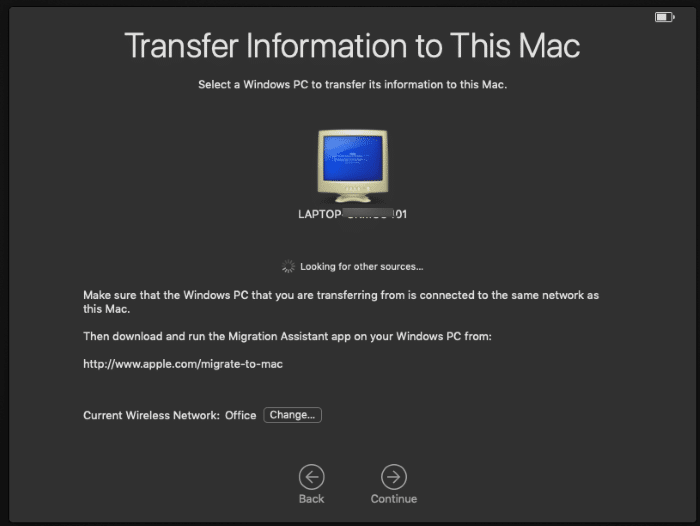
Step 8: Next, you will get the following screen where you need to select your Windows 10 running computer. Click the Continue button to proceed further.
Step 9: The Migration Utility will now display a code you should make sure that the same code is displayed on your Windows 10 PC as well and then click the Continue button on your PC.
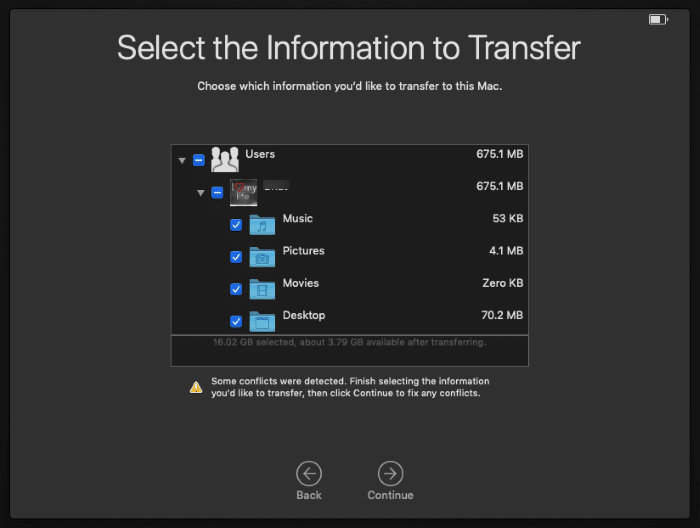
Step 10: On your Mac, select what you want to transfer from your PC. In addition to folders, you can also select some settings.
Click the Continue button.
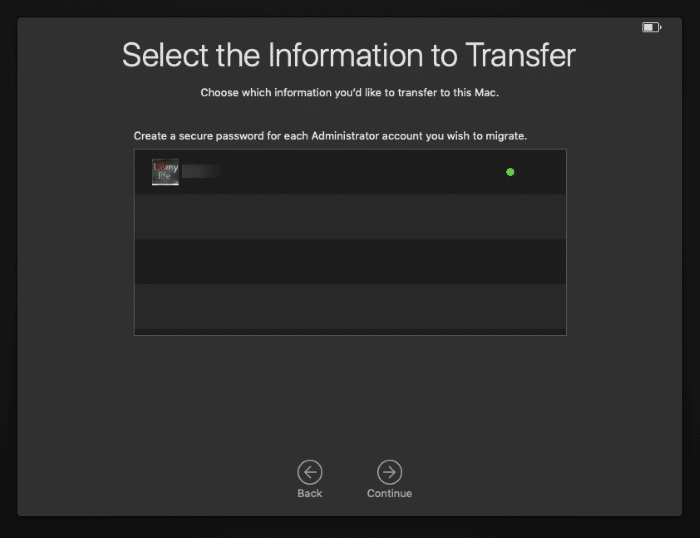
Step 11: If you select an account to migrate, the Migration Utility will ask you to create a secure password for the admin account that you wish to migrate to your Mac.
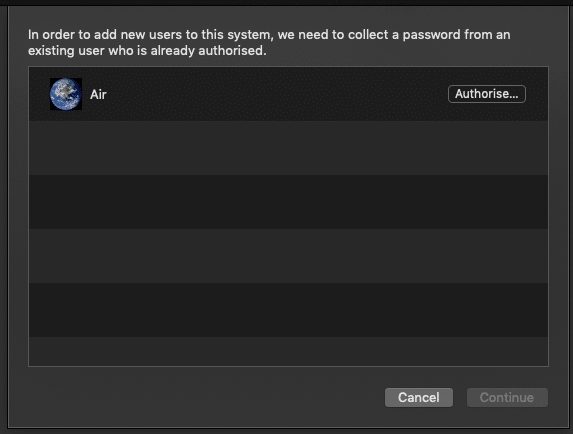
Step 12: The Migration Utility might ask you to enter your Mac admin password to migrate the selected account from Windows to Mac. Click the Authorize button next to the account name and then enter the password. Click the Continue button.
Step 13: The Migration Utility will begin transferring data from your selected Windows 10 PC to the Mac. Depending on the size of the selected data, it might take minutes to hours.
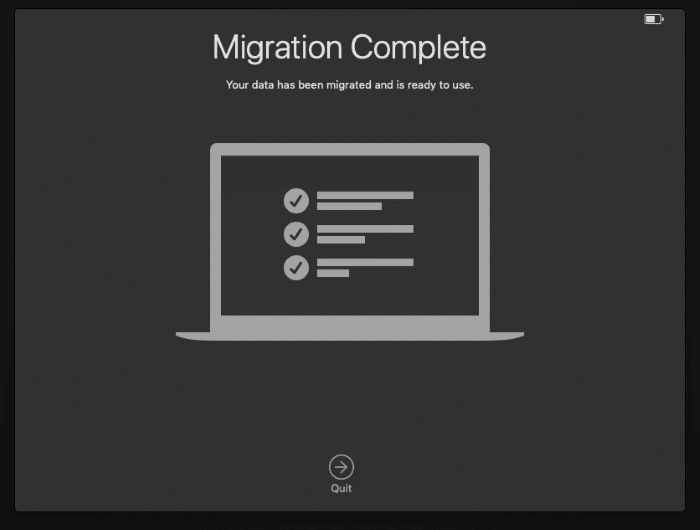
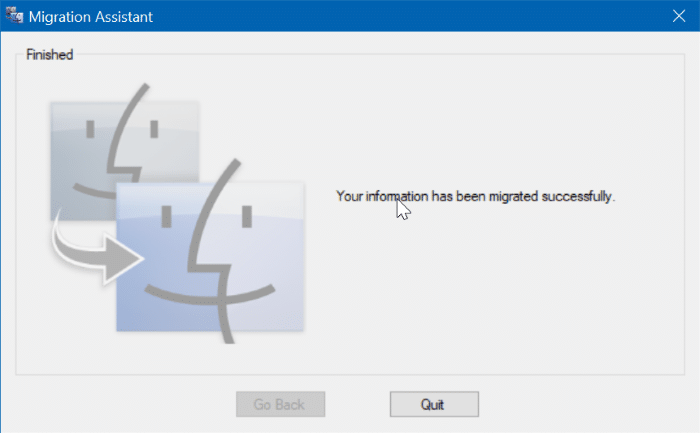
Once done, you will get the “Migration Complete” message on your Mac. On your PC, you will see the “Your information has been completed successfully” message.
Step 14: On your Mac, click the Quit button to close the application to go to the logon screen. Select the account you want to sign-in to and then type the password for the same to begin using the Mac.
