As you likely know, unlike its successor, none of the Windows 7 editions allow you to install Windows 7 on a USB flash/hard drive and then boot Windows 7 from the USB. For the uninitiated, installing Windows from a USB is completely different from installing Windows on a USB. In the first scenario, we use the USB as a bootable media to install Windows, and in the second one, we install Windows onto a USB drive and boot Windows from it.
If you want to install Windows on a USB flash drive or USB hard drive, this is the easiest way to install Windows 7 on USB and boot from it. You don’t need to download complex scripts or execute commands in order to install Windows 7 onto USB.
In this guide, we’re going to show the easiest way to install Windows 7 on a USB flash drive or USB hard drive and boot Windows 7 from it.
Things you need:
# Windows 7 ISO image file (32-bit or 64-bit)
# WinToUSB (check Step 2 for download links)
# 16GB+ USB flash drive or hard drive (8GB drive should do fine but can’t confirm)
Installing Windows 7 onto to USB flash drive or hard drive
Step 1: Kickstart the procedure by connecting your USB flash drive or hard drive to your Windows 7/8 PC. Please backup all data before continuing further, as the drive will be erased.
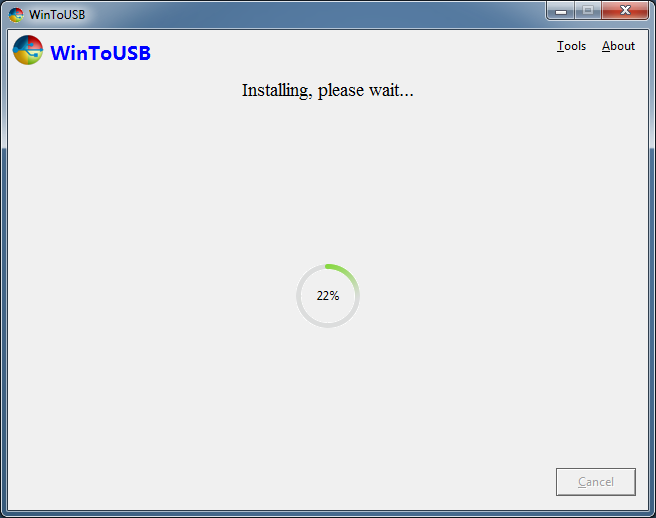
Step 2: The next step is to download WinToUSB software by visiting this official page. WinToUSB supports both 32-bit and 64-bit Windows 7/8. Run the downloaded setup file and then follow the straightforward on-screen instructions to complete the installation. You can install WinToUSB either on Windows 7 or Windows 8.
Step 3: Launch WinToUSB software. On the home screen, click the button next to the ISO file box to browse to the Windows 7 ISO image file and click the OK button to open it. And then select the edition of Windows 7 that you would like to install on the USB.


Click the Next button to proceed to the next step.

Upon selecting the USB drive, you’ll see a warning dialog with the “Selected device needs to be formatted. Are you sure you want to continue?” message. Click the Yes button to continue.


Step 5: Finally, you’ll be asked to select the system partition as well as the boot partition on the USB drive. If you haven’t partitioned your USB drive, you can simply select the same partition (full drive) as the system partition as well as the boot partition (refer to the picture). And, if you have two or more partitions, please select a partition to use as a boot partition and then another partition with at least 16 GB of space as a system partition.

Click the Next button to begin installing Windows 7 onto the USB drive. This process might take hours, depending on your USB drive’s speed and overall system performance. That’s it!
In order to boot from this bootable Windows 7 USB, you need to enable the boot from USB feature in the BIOS/UEFI.
Between, if you are on Windows 10, refer to our use Rufus to create Windows 10 To Go drive.