For all those Mac users who have been eagerly waiting to install and experience the Windows operating system on Mac machine, here is the simple procedure that you need to follow to install Windows 10/11 on your Mac using the Boot Camp Assistant software.
What you will need:
# Windows 10/11 DVD, ISO, or USB
# A USB drive with 8GB or more capacity
# One hour of free time
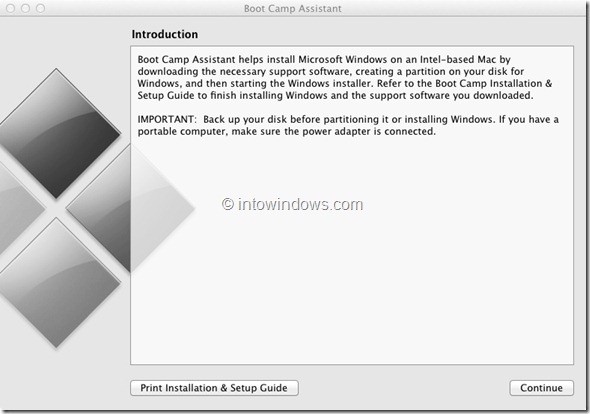
We are going to use the Boot Camp Assistant software available on Mac. Boot Camp helps you install Windows OS on an Intel-based Mac by downloading the necessary support software, creating a partition on your disk for Windows, and then starting the Windows installer. It’s worthwhile noting here that Boot Camp cannot be used to install Windows on M1/M2/M3 Macs.
NOTE: We assume that you have an Intel-based Mac machine with Boot Camp Assistant version 5.0 or later. It’s always a good idea to backup the important data on your computer before installing Windows on Mac. We used MacBook Air to install Windows 10 on the Mac. The procedure to install Windows 11 or Windows 10 on other Mac machines is pretty much the same.
Procedure:
Step 1: Launch Boot Camp Assistant software. To launch it, go to Utilities and click on Boot Camp Assistant to open it.
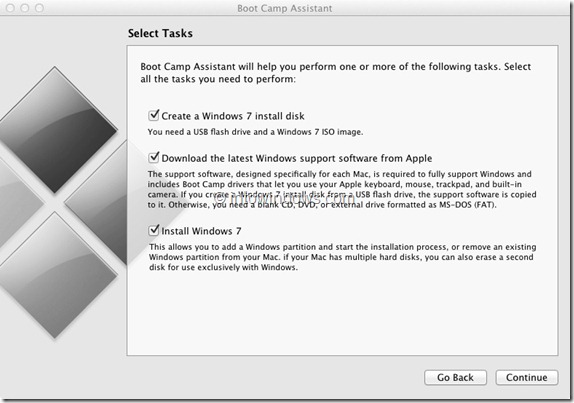
Step 2: Once launched, click the Continue button on the introduction screen to see the list of options available for your Mac. You will see three options:
# Create a Windows 7 or later version install disk
# Download the latest Windows support software from Apple
# Install Windows 7 or later version
If Create a Windows 7 or later version install disk option is not available on your Mac, it’s because your computer doesn’t support installing Windows from USB flash drive. Simply select the other options available and click Continue button.
By default, all three options are enabled. If you are on a Mac Mini or MacBook Air, use the first option (Create a Windows 7 or later version install disk) to create a bootable Windows 10/11 USB flash drive to install Windows 10/11 directly from USB flash drive. Click the Continue button to proceed to the next step.
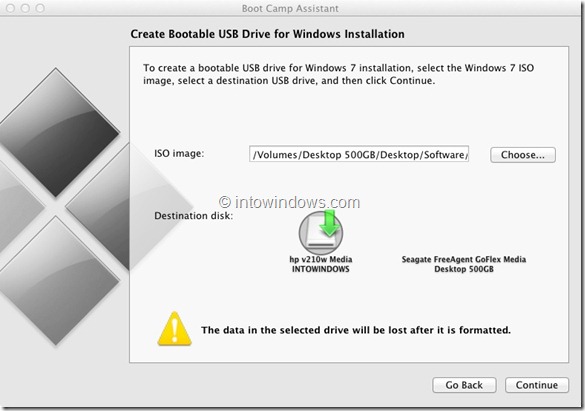
Step 3: (Please skip this step if you haven’t selected Create a Windows 7 or later version install disk option in the above step) In this step, you need to select the Windows 10/11 ISO file and the USB device that you want to use to install Windows 10/11. Boot Camp Assistant will create a bootable USB drive for Windows 10/11 installation. Once you select the ISO file and destination USB drive, click the Continue button.
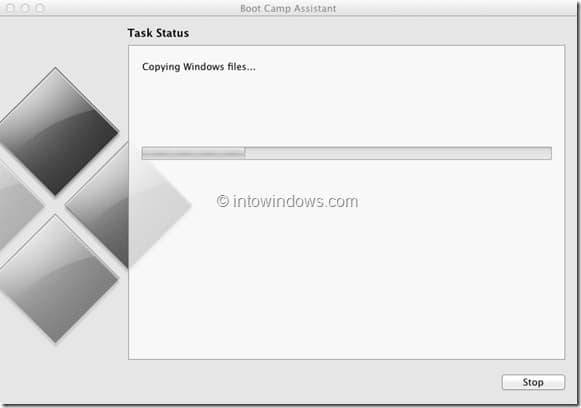
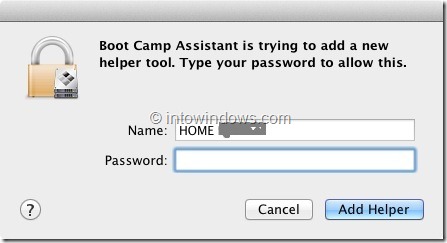
Click the Continue button if you are prompted with the “The drive will be erased” message. Boot Camp Assistant may take several minutes to create the bootable Windows 10/11 USB drive (it will also download Windows support software from Apple). Once Boot Camp Assistant finishes creating a bootable Windows 10/11 USB, you will get the “Boot Camp Assistant is trying to add new helper tool. Type your password to allow this” message. Type in the password and click the Add Helper button to continue.
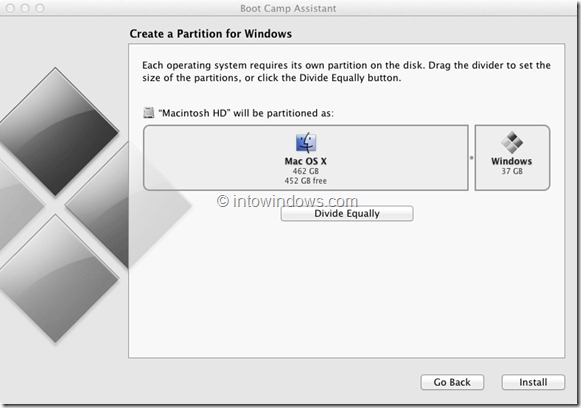
Step 4: Boot Camp Assistant now takes you to Create a partition for Windows window. Drag the divider between the partitions to set the size of the partitions. We recommend a minimum of 30 GB for Windows partition (Microsoft recommends 16 GB, but if you want to install other software on Windows 10/11, allocate 30GB).
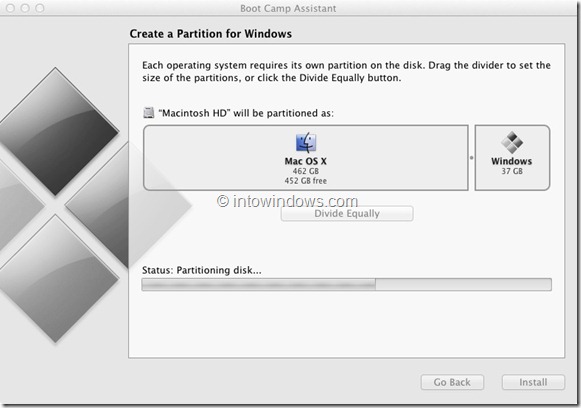
Click the Install button to start partitioning the drive, and then begin installing Windows 10/8 on your Mac. Your Mac machine will automatically reboot to begin installing Windows. You will see the “Booting from Boot Camp Assistant created boot drive” message.
OR
If you haven’t selected Create a Windows 7 or later version install disk option in step 2, please insert the Windows 10/11 installation DVD into the tray and click the Install button to start partitioning the drive and then Windows installation. Your Mac machine will automatically reboot to begin installing Windows.
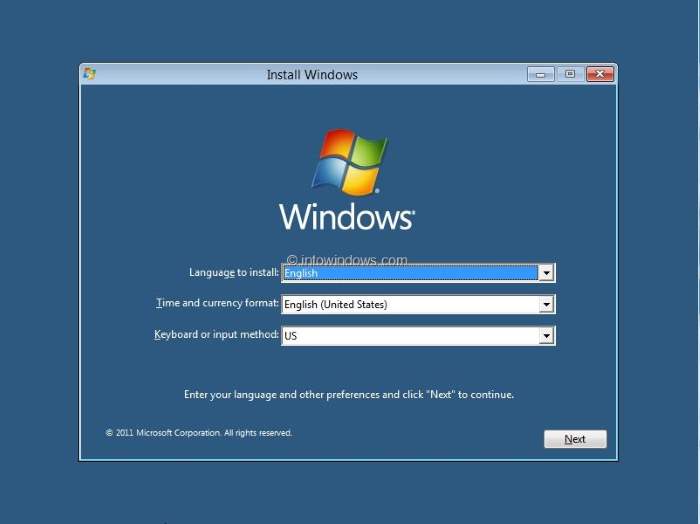

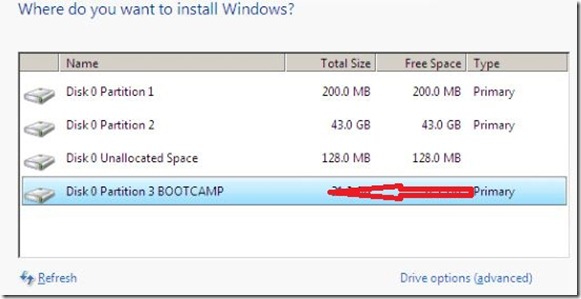
From here on, follow the on-screen procedure until you need to select a partition to install Windows. On the Where do you want to install Windows? screen, select the partition named BOOTCAMP to install Windows 10/11. Make sure that you format the BOOTCAMP partition before selecting it as an unformatted drive may show the “Windows cannot be installed to this disk x partition x” error.
To format the BOOTCAMP partition, select the partition in the list, click Drive options (advanced), and then click the Format button. Click the Ok button for the prompt.
Click the Next button to begin installing Windows 10/11 on BOOTCAMP partition. Follow the on screen instructions to finish installing and configuring Windows 10/11.
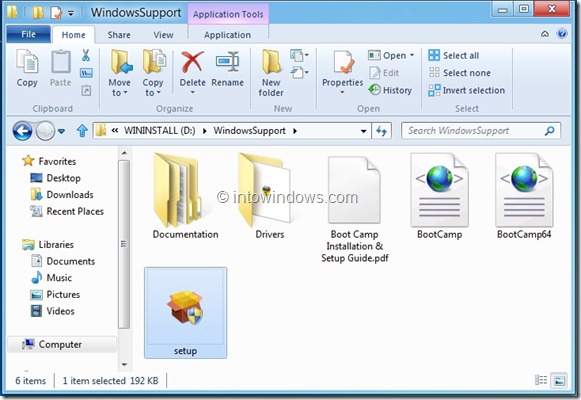
Step 5: Once Windows 10/11 is installed and running, you need to install Mac-specific drivers and other support software for Windows. The support software is on the same USB drive if you have selected Download the latest support software from Apple in step 2. Open the Windows 10/11 USB flash drive (that you have created using Boot Camp Assistant) and navigate to WindowsSupport folder, and then double-click on setup.exe file to start installing all drivers and Apple Software Update.
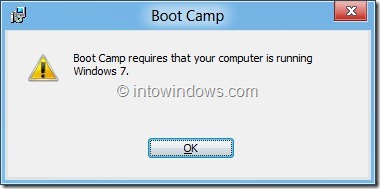
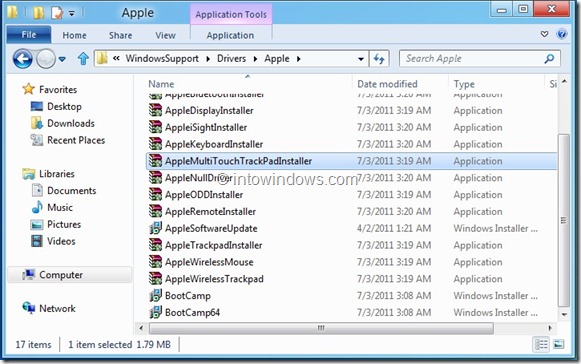
If you are getting “Boot Camp requires that your computer is running Windows 7/8” error, then you need manually install all drivers and Apple Software Update. Open the Windows 10/11 USB drive and navigate to Drivers > Apple. Here, you will find all Apple drivers and other software. Manually install all required drivers one-by-one.
If you want to install drivers for third-party hardware such as NVidia and ATI, you can find the required drivers under the Drivers folder in the same drive. Good luck!
If you get the Software you are installing has not passed the Windows Logo testing message, click the Continue Anyway button.
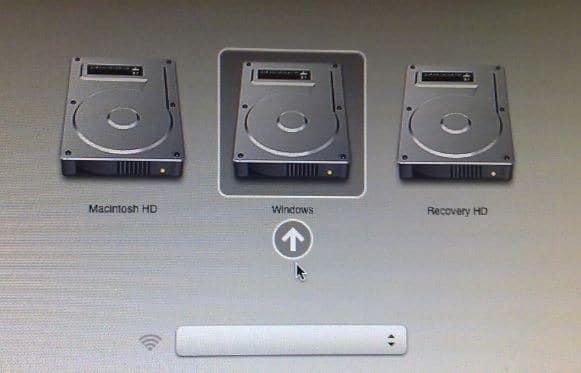
When you switch on your Mac, hold down the Alt key or Option key to see an option to boot into Windows or Mac. Good luck!

I hope this helps!
