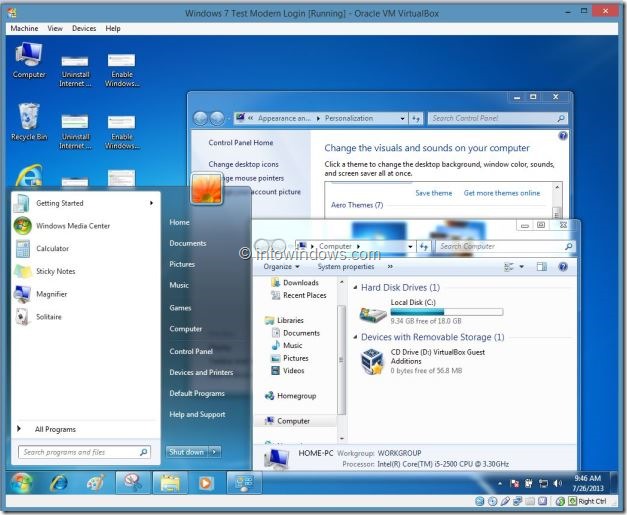
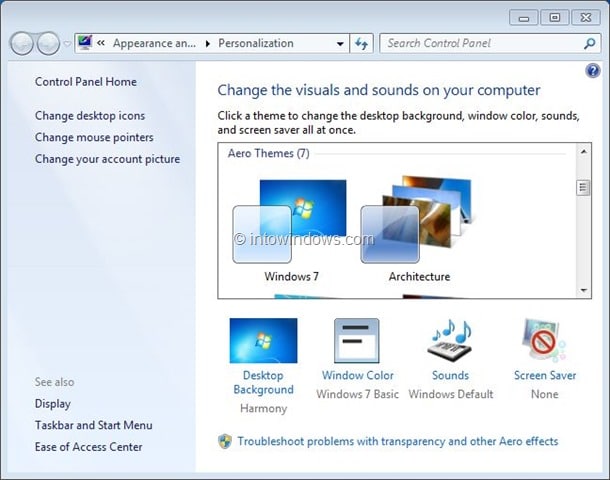
Users who have ever installed Windows 7 Home Premium or higher edition in Oracle VirtualBox probably aware of the fact that Aero feature is disabled by default, even if your PC supports the feature. Clicking on the Aero theme in Personalization panel will just activate the basic theme once again and the Aero troubleshooter will suggest you install video card driver or install WDDM compatible driver.
A couple of years ago, as you probably know, VirtualBox announced support for Aero but the problem is that enabling Aero in VirtualBox isn’t very straight-forward. If you have installed Windows 7 in a VirtualBox virtual machine and would like to enable Aero, you can do so by completing the below mentioned instructions.
NOTE: Your PC must have Aero compatible video card to enable and activate Windows 7 Aero. This guide doesn’t help you activate Aero on non-supported PCs.
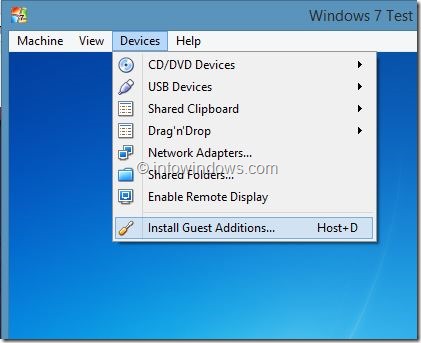
Step 1: The first step is to install Guest Additions in VirtualBox. To do that, when Windows 7 is running in VirtualBox, you need to click Devices in the VirtualBox file menu and then click Install Guest Additions.
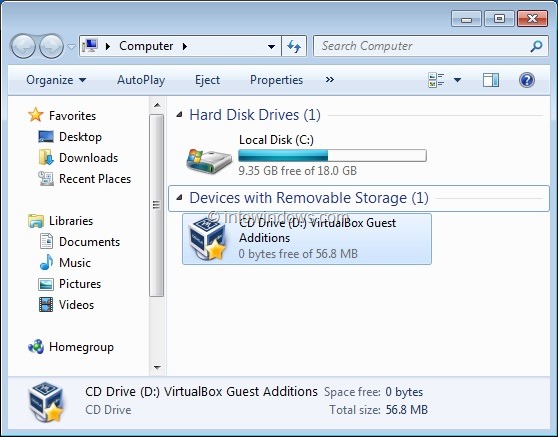
Step 2: If the setup wizard of Guest Additions doesn’t start, open Computer (My Computer), double-click on CD Drive: VirtualBox Guest Additions to fire up the install wizard. Click Yes for the UAC prompt to continue.
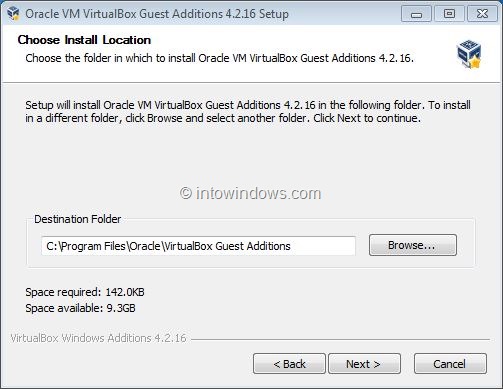
Step 3: Once setup wizard is launched, click Next button, click Next button again in the following screen to continue to the crucial stage of the procedure.
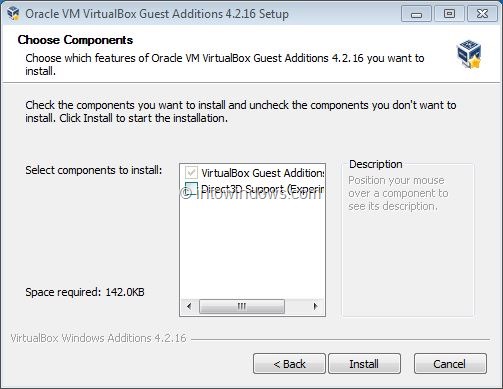
Step 4: Here, you’ll see two options: Virtual Guest Additions and Direct 3D Support (Experimental). The first option (VirtualBox Guest Additions) is selected by default and you need to select the second option titled Direct3D Support (Experimental).
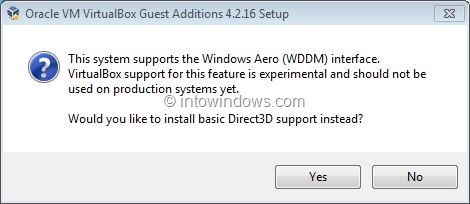
Upon checking the Direct3D Support box(Experimental), you’ll see the following dialog:
Here, click No button. Yes, you need to click No button, as clicking Yes will only install the basic Direct3D support (read the content of the dialog again to understand!).
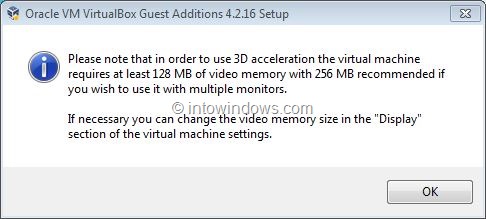
Clicking No button will show you the following dialog:
Click Ok button.
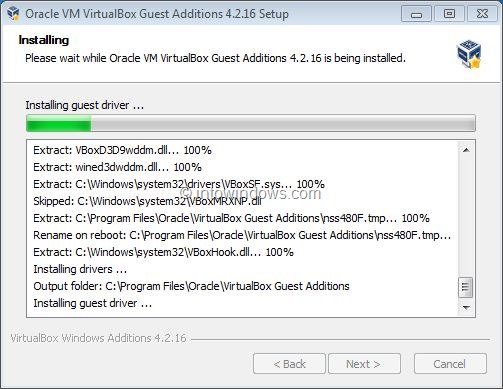
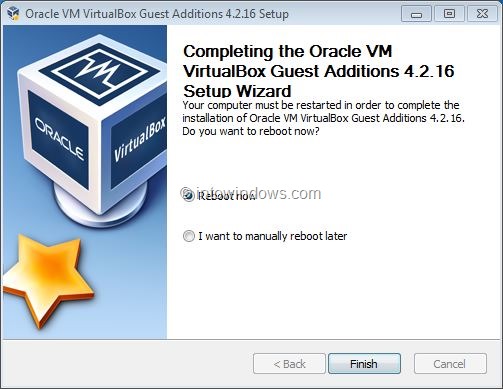
Step 5: Finally, click Install button to start installing VirtualBox Guest Additions with Direct3D support. Once installed, you’ll need to reboot the virtual machine.
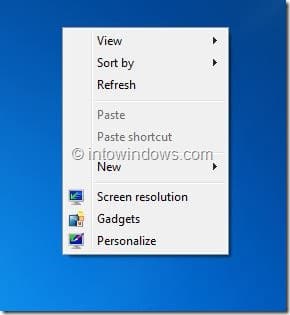
Step 6: After rebooting your Windows 7, right-click on Desktop, click Personalize to open Personalization window, and then click on the Aero theme activate Aero. That’s it!
How to boot from USB in VirtualBox guide might also interest you.
