Creating a Windows 7 repair disc is fairly simple and can be prepared in a couple of minutes without the help of third-party software. For those who are new to Windows 7 and haven’t heard about repair disc, it lets you resolve various Windows 7 installation issues without having to boot into Windows but can’t be used to install or re-install Windows 7.
If you’re running Windows 7 on a netbook or notebook without an optical (CD/DVD) drive, you might want to create Windows 7 repair USB drive so that you can easily repair Windows 7 if ever your PC fails to boot. As you likely know, since Windows 7 doesn’t let you create a USB drive containing repair files, we need to create a Windows 7 repair disc first, transfer all files to a USB drive, and then make it bootable.
In this guide, we’re going to walk you through steps that you need to follow in order to prepare a bootable Windows 7 repair USB drive.
Preparing a USB drive containing Windows 7 repair files
Step 1: Turn on your PC and boot into Windows 7. If your PC isn’t booting, you need to try out some other methods as this guide assumes your Windows 7 PC is bootable.
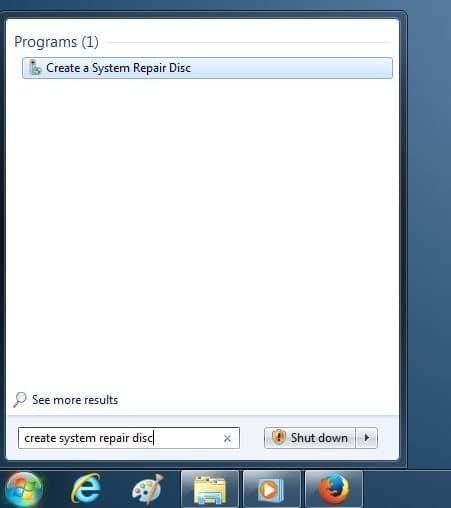
Step 2: In the Start menu search box, type create a system repair disc, and then press enter key to open Create a system repair disc dialog.
NOTE: Your PC must have a CD/DVD drive in order to create a system repair disc.
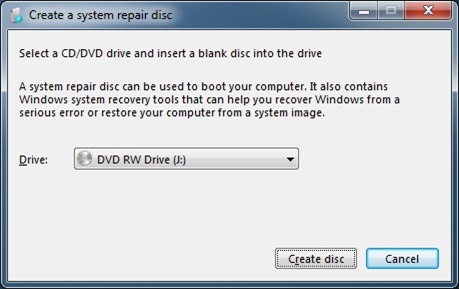
Step 3: Once Create a system repair disc dialog appears, select your DVD drive, insert a blank CD/DVD into it, and then click Create disc button to begin preparing the repair disc.
NOTE: You can either use a CD or DVD to create the disc, as the total size of the repair disc is around 150 MB.
Step 4: Now that you have the repair CD/DVD, it’s time to connect your USB drive that you would like to use to repair your Windows 7 PC. Connect your USB drive and backup all data to a safe location as we need to format the drive in order to make it bootable.
Step 5: Visit this web page and download WindowsToUSB Lite software. WindowsToUSB Lite is a free tool designed to create bootable USB. If you’re wondering why we aren’t using a popular tool such as Windows 7 USB/DVD Tool or Rufus for this job, the catch with these popular tools is that they support creating a bootable USB from an ISO image and not from DVD.
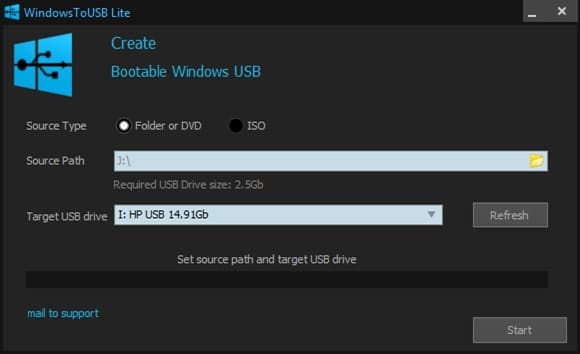
Step 6: Launch WindowsToUSB Lite, select your USB drive, and then browse to the CD/DVD containing Windows 7 repair files.
Step 7: Finally, click the Start button and then click Yes button when you see a warning dialog to continue formatting the drive and prepare bootable USB.
That’s it! Once the USB drive is ready, you can use it repair your Windows 7 PC.
How to delete Windows 8 recovery partition and how to create Windows 8 recovery USB drive guides might also interest you.


