System Image is one of the features first introduced with Windows Vista to help users easily create a backup image of drives without the help of third-party tools. In simple words, a system backup image includes all drives and files required for Windows to boot and run.
Generally, Windows users create a system backup image after installing all device drivers, favorite software, and optimizing Windows. The backup file can be used if the hard drive ever fails or if you ever want to quickly reinstall Windows without having to go through the tedious reinstallation procedure.
When you restore Windows using a previously created backup image, you won’t need to install all device drivers and software all over again if the image backup was prepared after installing device drivers and software.
System Backup Image is present in Windows 7 as well as in Windows 8. For some reason, Microsoft has dropped System Image feature from the Windows 8.1 update. Even though there are plenty of useful tools out there to create and restore system backup image, some users might just prefer to have this built-in tool to create an image backup.
Luckily, Microsoft has only removed the UI version Backup Image from Windows 8.1, and one can create image backup from Command Prompt or Windows PowerShell.
Follow the given below instructions to create a system image in Windows 8.1 without using third-party tools:
Prepare system backup image in Windows 8.1
Step 1: Connect your USB drive to your Windows 8.1 PC and make sure that it has sufficient free space on it. The free space on your external drive must be more than the data on your Windows 8.1 drive.
Note that if you’ve installed Windows 8.1 in dual boot Windows 8 or any other version, the image backup tool might include more than one drive in the backup and will take more space.
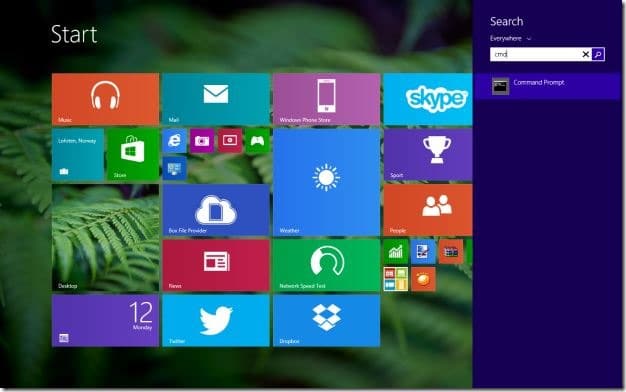
Step 2: Open Command Prompt as administrator on your Windows 8.1 machine. To do this, there are a couple of ways. You can either type CMD on the Start screen and simultaneously press Ctrl + Shift + Enter keys to open elevated Command Prompt or right-click on the Start button and then click PowerShell (Admin) to open Windows PowerShell with admin rights. Click on the Yes button when you see the UAC prompt.
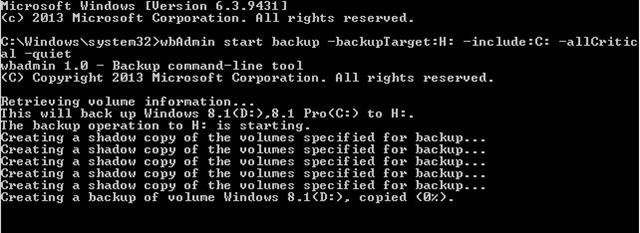
Step 3: In the elevated Command Prompt or PowerShell, type the following command and press enter key:
wbAdmin start backup -backupTarget:H: -include:C: -allCritical –quiet
(In the above command, replace “H” with your USB drive and replace “C” with your Windows 8.1 installation drive)
NOTE: As you can see in the above picture, the tool is backing up both C and D drives as I have installed Windows 8.1 (drive C) in dual boot with Windows 8(drive D).
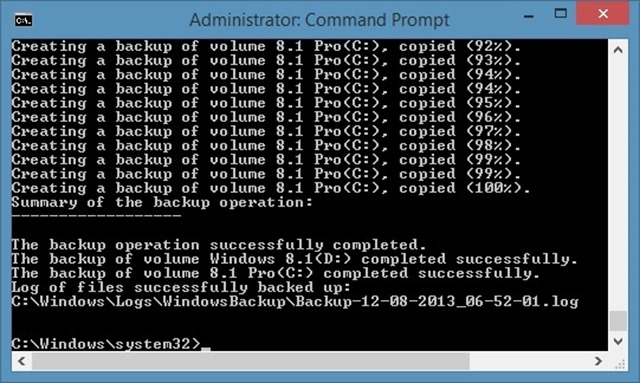
Step 4: Depending on the number of drives, total data, and your system hardware, the process might take hours to complete. Once done, you’ll see “The backup operation successfully completed” message. Safely remove the external hardware and store it in a safe location. That’s it!
And if you are searching for a good third-party tool to create an image backup, we recommend Macrium Reflect Free edition.


