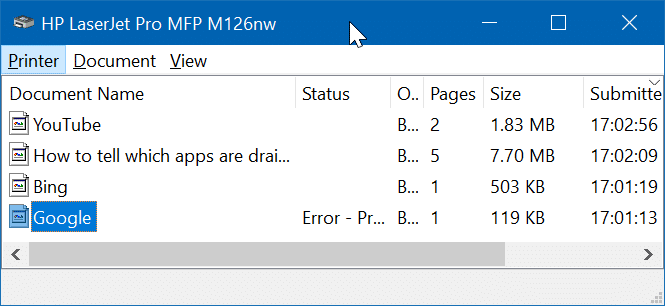
Clearing the print queue is an easy job in Windows 10. However, at times, you might not be able to clear or delete pages from the print queue window. When you right-click on a document in the print queue window and click the Cancel option, the document/page is not removed from the print queue window.
If you are unable to clear or delete one or more documents/pages via the print queue window, the following solutions should help you.
IMPORTANT: All these methods delete or clear all documents/pages from the print queue. You can’t clear or delete specific pages/documents from the print queue using these methods.
Method 1 of 3
Stop and start the Print Spooler service
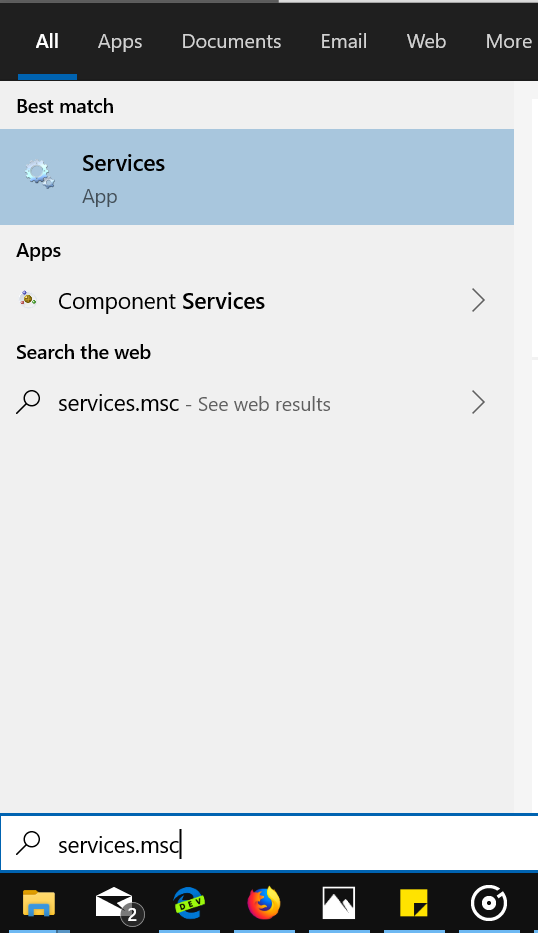
Step 1: Type services.msc in the Start/taskbar search field and then hit the Enter key.
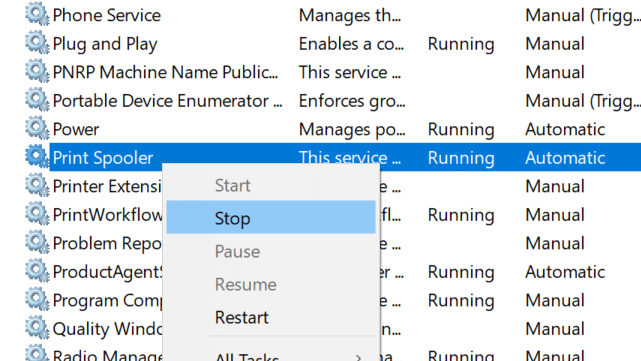
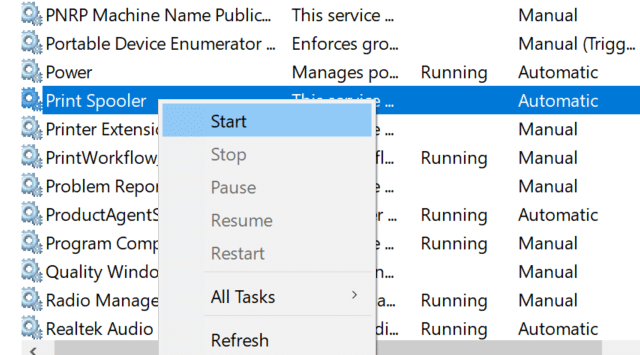
Step 2: Locate the Print Spooler service entry. Perform a right-click on it and click the Stop option to stop the service.
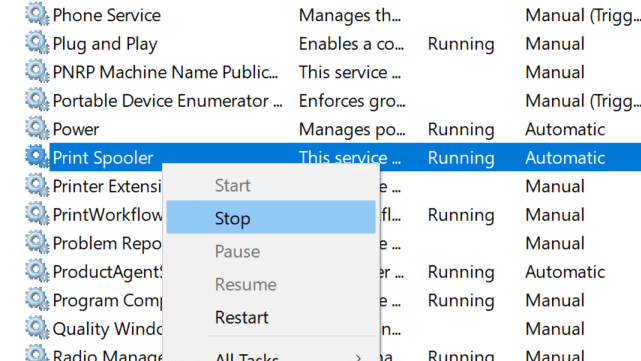
Step 3: Finally, right-click on the Print Spooler service again and then click the Start option to start the Print Spooler service.
This should completely clear the Print queue. If it doesn’t clear the print queue, try the steps in Method 2 (scroll down to see).
Method 2 of 2
Manually delete the Print queue files
Step 1: Enter services.msc in the Start/taskbar search box. Press the Enter key to open the same.
Step 2: Right-click on the Print Spooler service entry and click the Stop option.
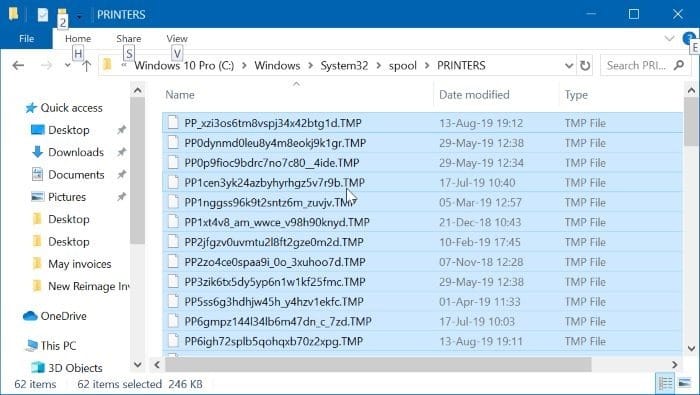
Step 3: Open the File Explorer and then navigate to the following folder:
C:\Windows\System32\spool\PRINTERS
In the above path, replace “C” with the drive name of the drive where Windows 10 is installed.
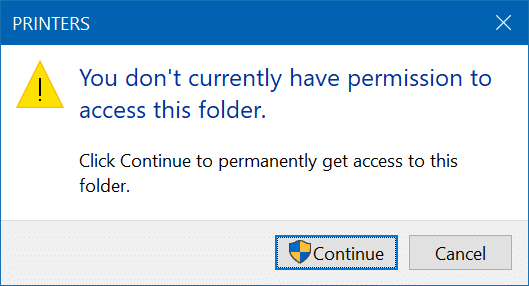
If you get the following dialog with “You don’t currently have permission to access this folder” message, click the Continue button to permanently get access the PRINTERS folder. Getting access to the PRINTERS folder is a one-time job, and you won’t get this dialog from the next time onwards.
Step 4: Select all files inside the PRINTERS folder and then delete them.
If you get the delete confirmation dialog, click the Yes button.
Step 5: In the Services window, right-click on the Print Spooler entry again and click the Start option to start the Print Spooler service.
This should clear the print queue in Windows 10.
Method 3 of 3
Clear the print queue files via Command Prompt
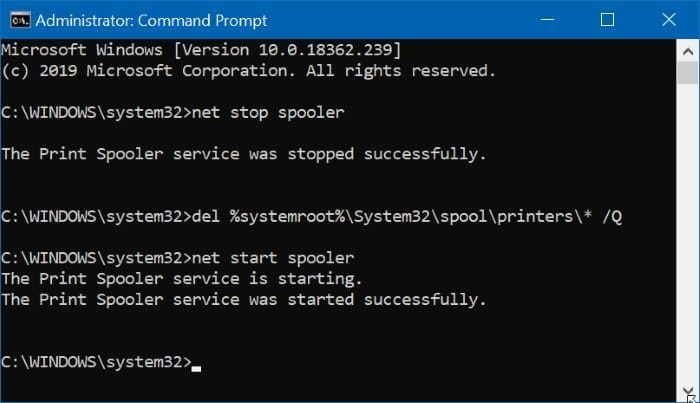
In this method, we are using the Command Prompt to stop the Print Spooler service, delete the files in the print queue files saved in the PRINTERS folder, and then start the Print Spooler service again.
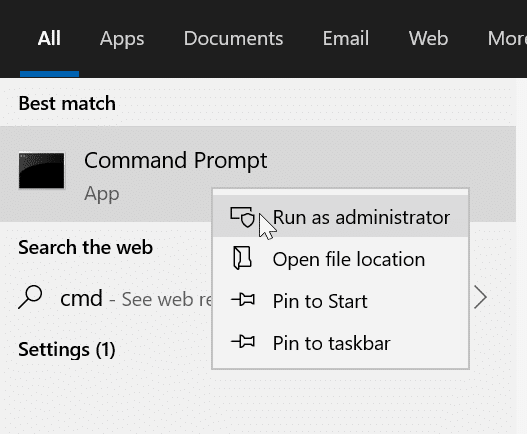
Step 1: Run Command Prompt as administrator. To do that, type CMD in the Start/taskbar search filed, right-click on the Command Prompt entry and then click the Run as administrator option.
Step 2: At the Command Prompt window, type the following command:
net stop spooler
Press the Enter key. This will stop the Print Spooler service.
Step 3: Next, type this command (copy and paste):
del %systemroot%\System32\spool\printers\* /Q
Hit the Enter key to delete all files from the PRINTERS folder.
Step 4: Lastly, start the Print Spooler service again with this command.
net start spooler
You may close the Command Prompt now. This should help you clear the print queue.
