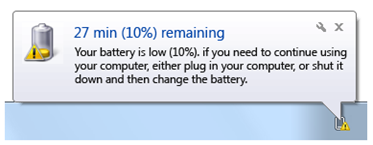
If you have been running Windows 7 on a notebook for a while now, you might have observed the low, reserve and critical battery notifications that popup in the notification area to warn you about the battery level.
With default settings, Windows warns you when the battery charge reaches low, reserve, and critical level. You get these notifications when battery charge reaches certain percentage so that you get enough time to save your work or to hibernate your notebook. For example, you see the low battery notification when the battery charge level decreases to 40%.
Here is how you can change low battery notifications (low, reserve & critical) in Windows 7:
1. Type Power Options in Start menu search field and then hit enter to open Power Options.
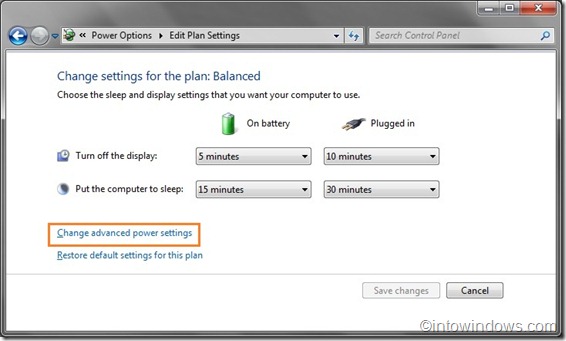
2. On the Select a power plan page, next to the plan you want to change, click Change plan settings.
3. Next, click Change advanced power settings to open Advanced Settings tab.
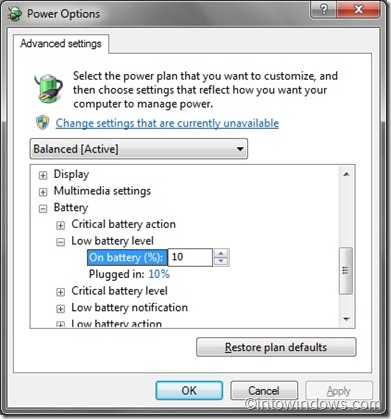
4. Under Advanced Settings tab, expand Battery, expand Low battery level, Reserve battery level and critical battery level. Then, change the default percentage of battery remaining value to your own value. For example, change Critical battery level to 10%.
5. Click Apply button to save the changes.


