If you have installed hundreds of programs on your Windows 7 PC, as you know, all these programs appear in the Start menu. Because of hundreds of entries, the Start menu might look cluttered. Organizing the programs in the Start menu can make it little better.
Earlier this week, we blogged about a tool named Start Menu Organizer to keep your Windows 7 Start menu organized with a few clicks. But if you don’t like to use a third-party tool to organize your Start menu, you can manually organize it as well.

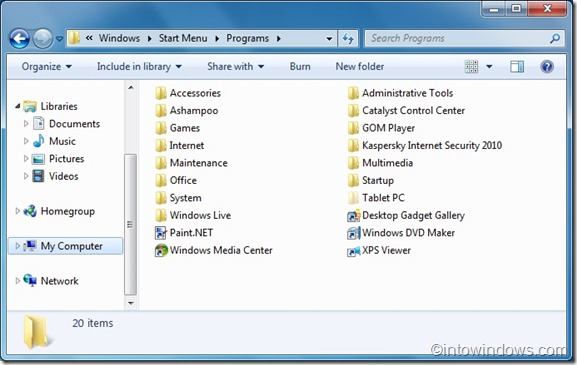
All start menu program shortcuts are stored in a folder named Start Menu in your OS drive. One can add, move or remove these shortcuts by navigating to Start menu’s sub folders.
Manually organize Start menu programs in Windows 7
1. Navigate to C:\ProgramData\Microsoft\Windows\Start Menu.
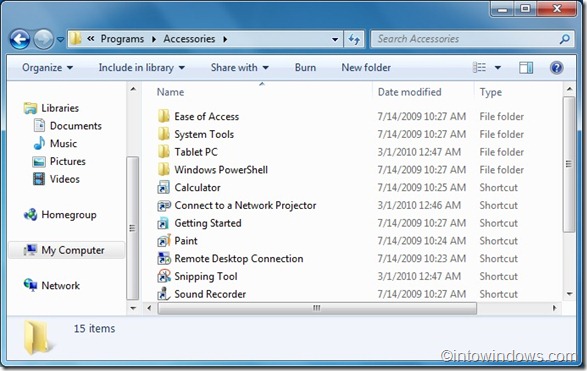
2. Double-click on Start Menu folder to see other subfolders such as Accessories, Administrator rights, and Maintenance. Programs that you can see under All programs in Start menu are stored in Start Menu folder. You can add, rename, or delete a program from this folder. Accessories and Administrator categories’ folders can also be found here.
So with this trick, you need not to use any third-party utilities like Start Menu Organizer to keep your Windows 7 Start menu tidy and organized.

