Many users who have installed the leaked Windows 7 SP1 beta version are facing some minor issues like missing DVD drive, Documents folders, etc. Since the unofficially available Windows 7 SP1 is labeled with beta tag, one might encounter bugs.
Users who are eagerly waiting for the first service pack need to remember that it includes only minor updates, among which are updates that are already available through Windows Update channel. So, keep your expectations low.
If you too have installed Windows 7 SP1 beta and would like to get rid of it, here is how to safely uninstall it:
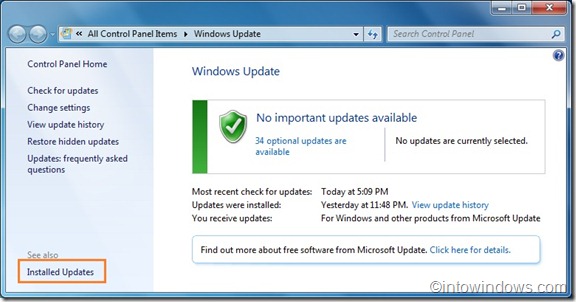
1. Type Windows Update in Start menu search field and hit enter to open Windows Updates window.
2. In the left pane, click Installed Updates option.
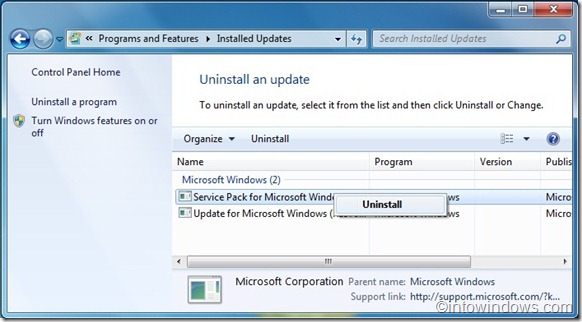
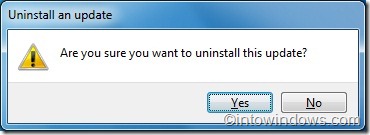
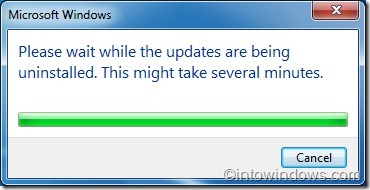
3. Here you should see the Windows 7 SP1 entry. Right-click on the service pack entry and click Uninstall to begin uninstalling the service pack. Click Yes when you are prompted with the confirmation box.
4. Reboot your machine.


