Your PC name or computer name is often required to establish a connection between multiple PCs or connect a printer to multiple PCs. You might also need to know your PC name while sharing files on a network.
In Windows 10 and previous versions, you can easily view your computer’s PC name by opening System properties. If you feel that the current name of your computer is not good and interesting, you can easily change your computer’s name in Windows 10.
If for any reason, you want to rename your Windows 10 PC, you can follow the directions mentioned in one of the two methods given below.
Please note that renaming your PC requires administrator rights, and you will be asked to reboot your PC to apply the changes.
Method 1 of 2
If you’re on a tablet or any other touch input supported Windows 10 device, please use the instructions in Method 2 as the Settings app is easy to navigate on a touch device then the classic Control Panel.
Rename your Windows 10 PC via Control Panel
Step 1: Open System Properties by typing Sysdm.cpl in Start menu search box or Run command box and pressing the Enter key.


Step 2: Once System Properties dialog launched, under the Computer Name tab, click the Change button to open Computer Name/Domain Changes.

Step 3: In the field under Computer name, enter your desired name for the PC and then click the OK button.


If you see a dialog with “You must restart your PC” message, click OK button. It won’t restart your PC right away, but you must restart your PC to apply changes.


That’s it!
Method 2 of 2
Rename Windows 10 PC via Settings
Step 1: Open the Settings app. The easiest way to quickly open Settings is by using Windows + I hotkey. You can also click the Settings icon on the Start menu to open the same.

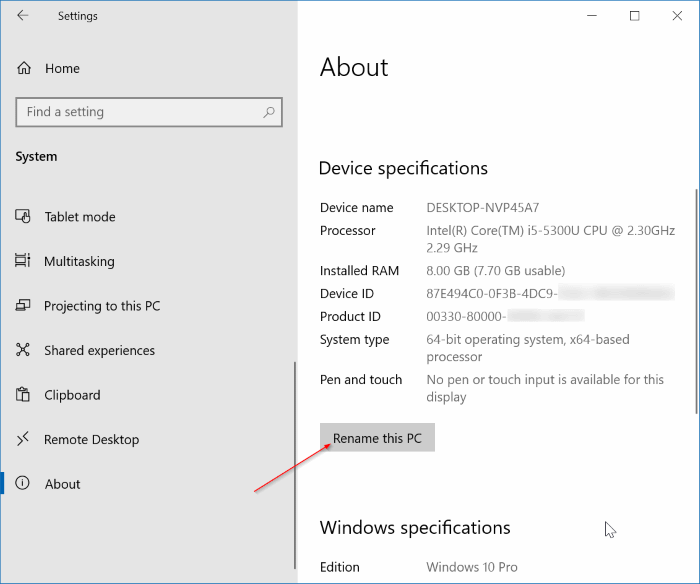
Step 2: Go to System > About page.
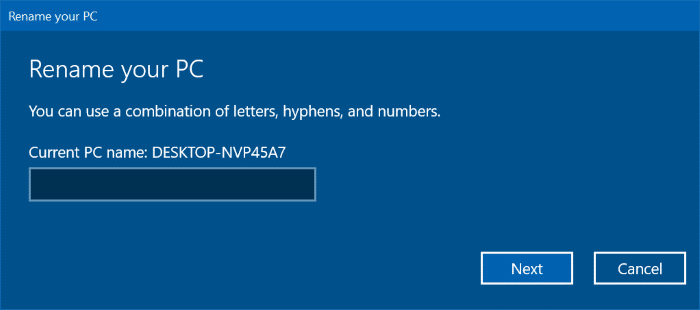
Step 3: Click Rename this PC button and enter a new name for your Windows 10 PC. That’s all!
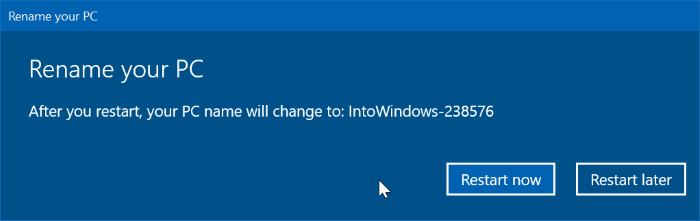
You will need to restart the PC to apply the changes.
How to view your Windows 10 product key guide might also interest you.